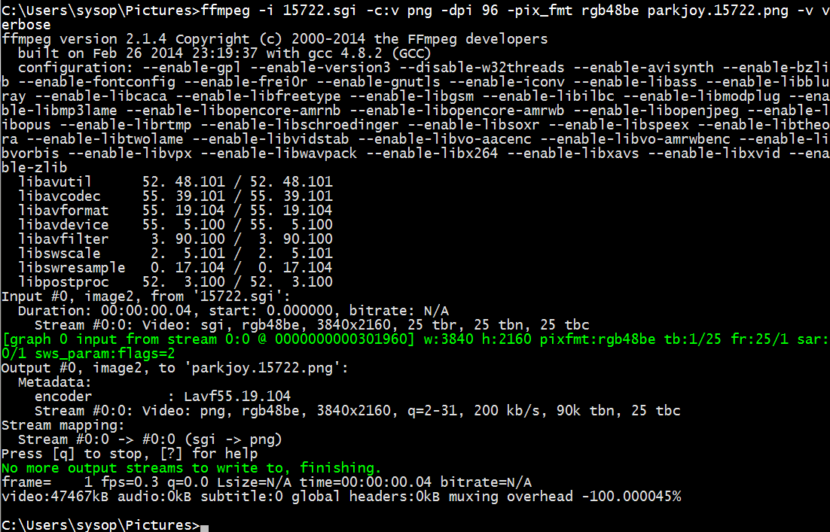
FFmpeg filters are a powerful tool that can do almost anything you can imagine with multimedia files – changing an AV file’s format or quality, extracting audio, adding watermarks, and so much more.
FFmpeg is the leading multimedia framework, able to decode, encode, transcode, mux, demux, stream, filter and play pretty much anything that humans and machines have created. It supports the most obscure ancient formats up to the cutting edge.
Installing FFmpeg is simple. Just download and install a pre-built binary for your operating system.
Installing FFmpeg
- Download the static package from http://ffmpeg.zeranoe.com/builds/
- Select the hard drive where Windows is installed (typically C:) and create a new folder named “ffmpeg” at the base of this drive (where you see folders such as Windows and Program Files).
- Extract the contents from the downloaded file to the newly created C:\ffmpeg folder.
- Finally, we just need to add the bin folder – which contains ffmpeg.exe – to our system path which will allow us to run the commands easily. This can be done in one of two ways:
-
- Open a command prompt with administrator rights.
- Run the command:
setx /M PATH "C:\ffmpeg\bin;%PATH%"
Be sure to alter the command so that the path reflects the folder path to ffmpeg\bin.
- Manually edit the Environment Path Variable. Instructions available here.
-
- Restart your machine.
Adding a Watermark or Logo to your Video
Once FFmpeg has been installed, adding a watermark is just a simple task of passing your existing video source through an overlay filter via the command prompt:
ffmpeg -i video.mp4 -i watermark.png -filter_complex "overlay=10:10" output.mp4
This command passes the original video (video.mp4), and an overlay image (watermark.png) as inputs, through the overlay filter, and saves the output as output.mp4.
The overlay=10:10 specifies the positioning of the overlay image in pixels – 10:10 puts the video 10px from the top and 10px from the left. (x:y coordinates).
Positioning the overlay image
By default, overlay filter positioning is from the top-left. There are variables which we can use to better position your watermark. These include:
- main_h – the video’s height
- main_w – the video’s width
- overlay_h – the overlay’s height
- overlay_w – the overlay’s width
Using these variable we can position the watermark to the bottom-right of the video with a 20px padding like so:
ffmpeg -i video.mp4 -i watermark.png -filter_complex "overlay=x=(main_w-overlay_w-20):y=(main_h-overlay_h-20)" output.mp4
Or if we wanted to centre the overlay image on the video we can do the following:
ffmpeg -i video.mp4 -i watermark.png -filter_complex "overlay=x=((main_w-overlay_w)/2):y=((main_h-overlay_h)/2)" output.mp4
As you can see, FFmpeg is a very powerful tool with the overlay filter being just a very small demonstration of what can be achieved. Further functionality can be found here: https://www.ffmpeg.org/documentation.html
That’s it! All very simple. Please leave a message below if you have any questions or your own examples.


